For premium level service customers, administrators may import and synchronize users using SCIM. Vendor configuration instructions are unique.
Please note per the table below, if any of the mandatory attributes below are NOT populated, the user will not sync:

For Microsoft Entra / Azure auto-provisioning configuration instructions, see this article:
For Google Workspace automated user provision configuration instructions, see this article:
For all other vendors, please open a ticket by sending an email to: infosec_awareness@fortinet.com and ask for assistance. Provide the vendor information when opening the ticket.
How to obtain the access token for SCIM provisioning:
1.) Log in to the Security Awareness and Training Service as the tenant administrator.
2.) Select My profile from the user menu in the lower left corner of the service interface:
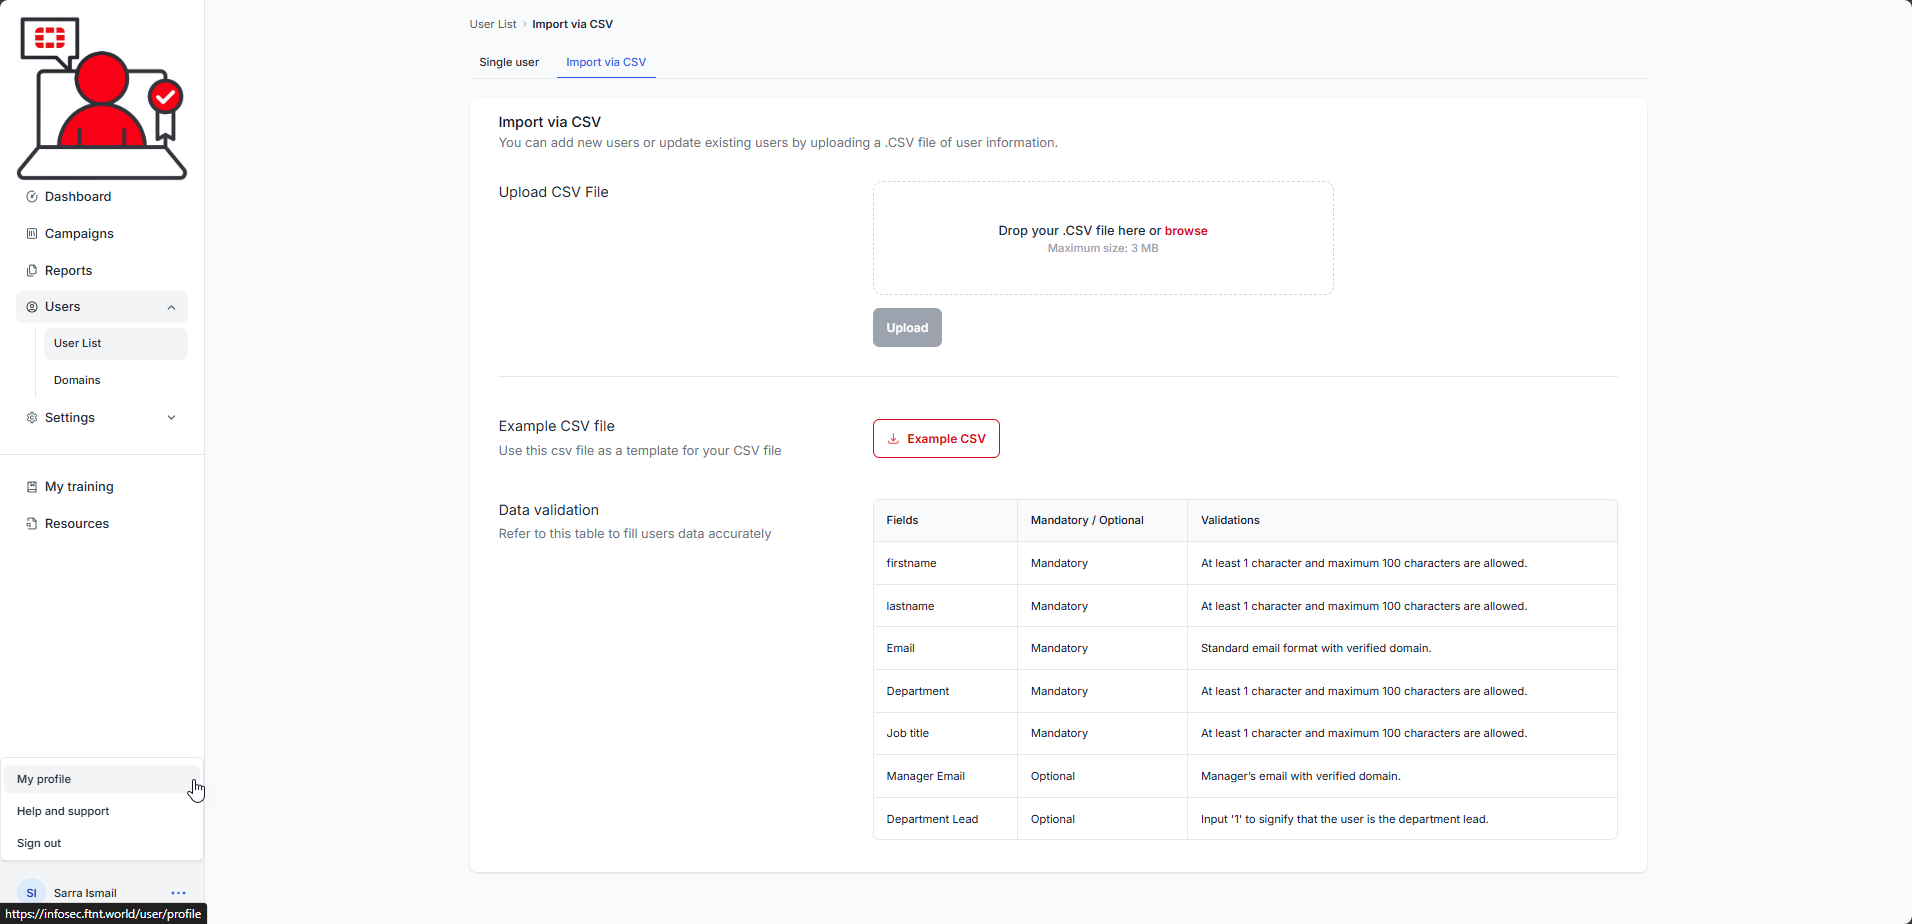
The My profile page is displayed:

3.) In the Create API Token section, give the token a meaningful name (e.g. Google Auto-provisioning (SCIM) or Microsoft Entra Auto-provisioning (SCIM)), ensure that the SCIM permission checkbox is checked, and select the Generate button:

The API Token dialogue is displayed:

4) Click the Copy button to copy the token:

You will need to paste this value into the app configuration when requested. You will not be able to access this token again after clicking the Close button. You can select the Manage API tokens buttons to delete old tokens.
How to obtain the access token for SCIM provisioning:
1.) In the Security Awareness and Training Service Administration interface, select Users from the navigation menu, then select the User sync sub-menu item:

The User sync page is displayed:

2.) Select the SCIM provisioning tab:
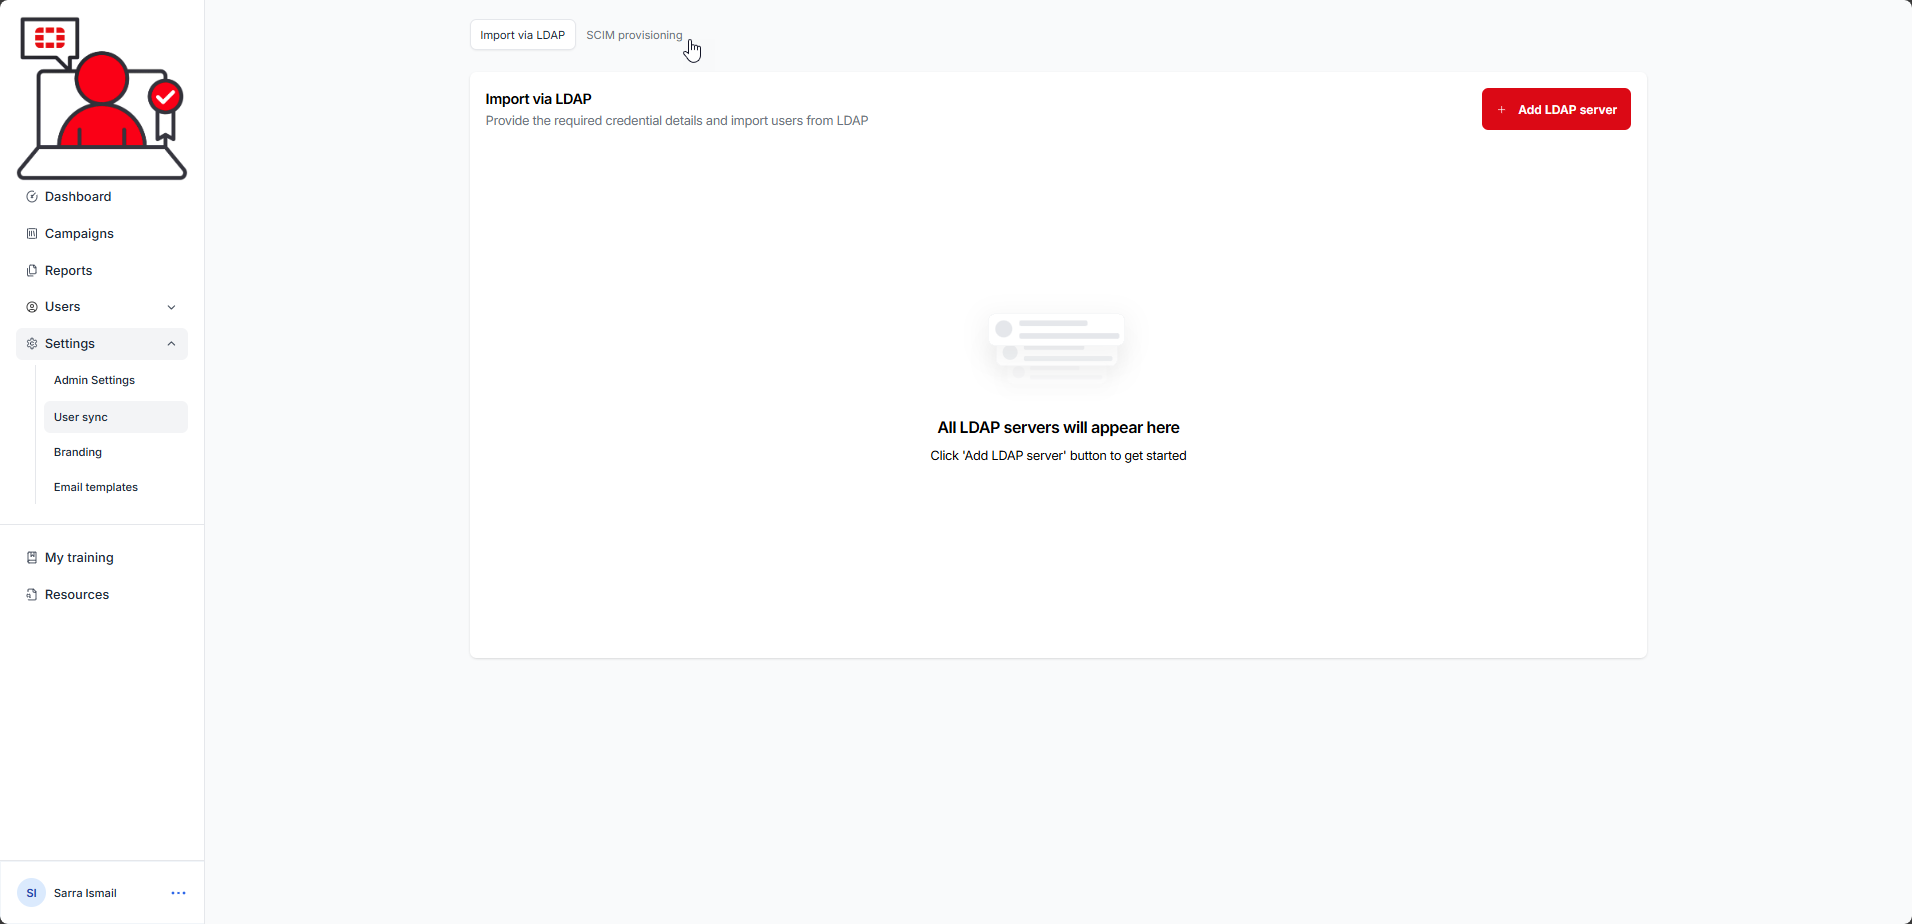
The SCIM provisioning page is displayed:

3.) Click the Copy button to copy the SCIM URL:

You will need to paste this value into the app configuration when requested.
Was this article helpful?
That’s Great!
Thank you for your feedback
Sorry! We couldn't be helpful
Thank you for your feedback
Feedback sent
We appreciate your effort and will try to fix the article