For premium level service customers, administrators may import users from a Microsoft Active Directory instance. If this method is used, you must map the appropriate attributes from the LDAP Directory to the correct attributes in the service.
Once configured, any changes to user entries in the LDAP / Microsoft Active Directory will be periodically synchronized to the Security Awareness and Training Service. This includes user deletion and changes to attributes such as surname, title, department, and manager mappings.
| A firewall rule may be required to allow the service to connect to the Directory in order to synchronize user data. You can find the IP addresses required for your firewall rule, here: Do not add users until you have fully verified the LDAP configuration and filter is returning the expected results. You can use a third party ldap browser to do this (e.g. Softerra LDAP Browser). |
Before configuring the LDAP user import, we recommend testing your firewall rule and developing a good LDAP filter that returns only the users that will be taking the training. You can refer to this article if you wish to perform this verification on your own:
If you would like assistance configuring and testing your LDAP configuration and LDAP filter, you can open a ticket by sending an email to: infosec_awareness@fortinet.com
How to create an LDAP configuration:
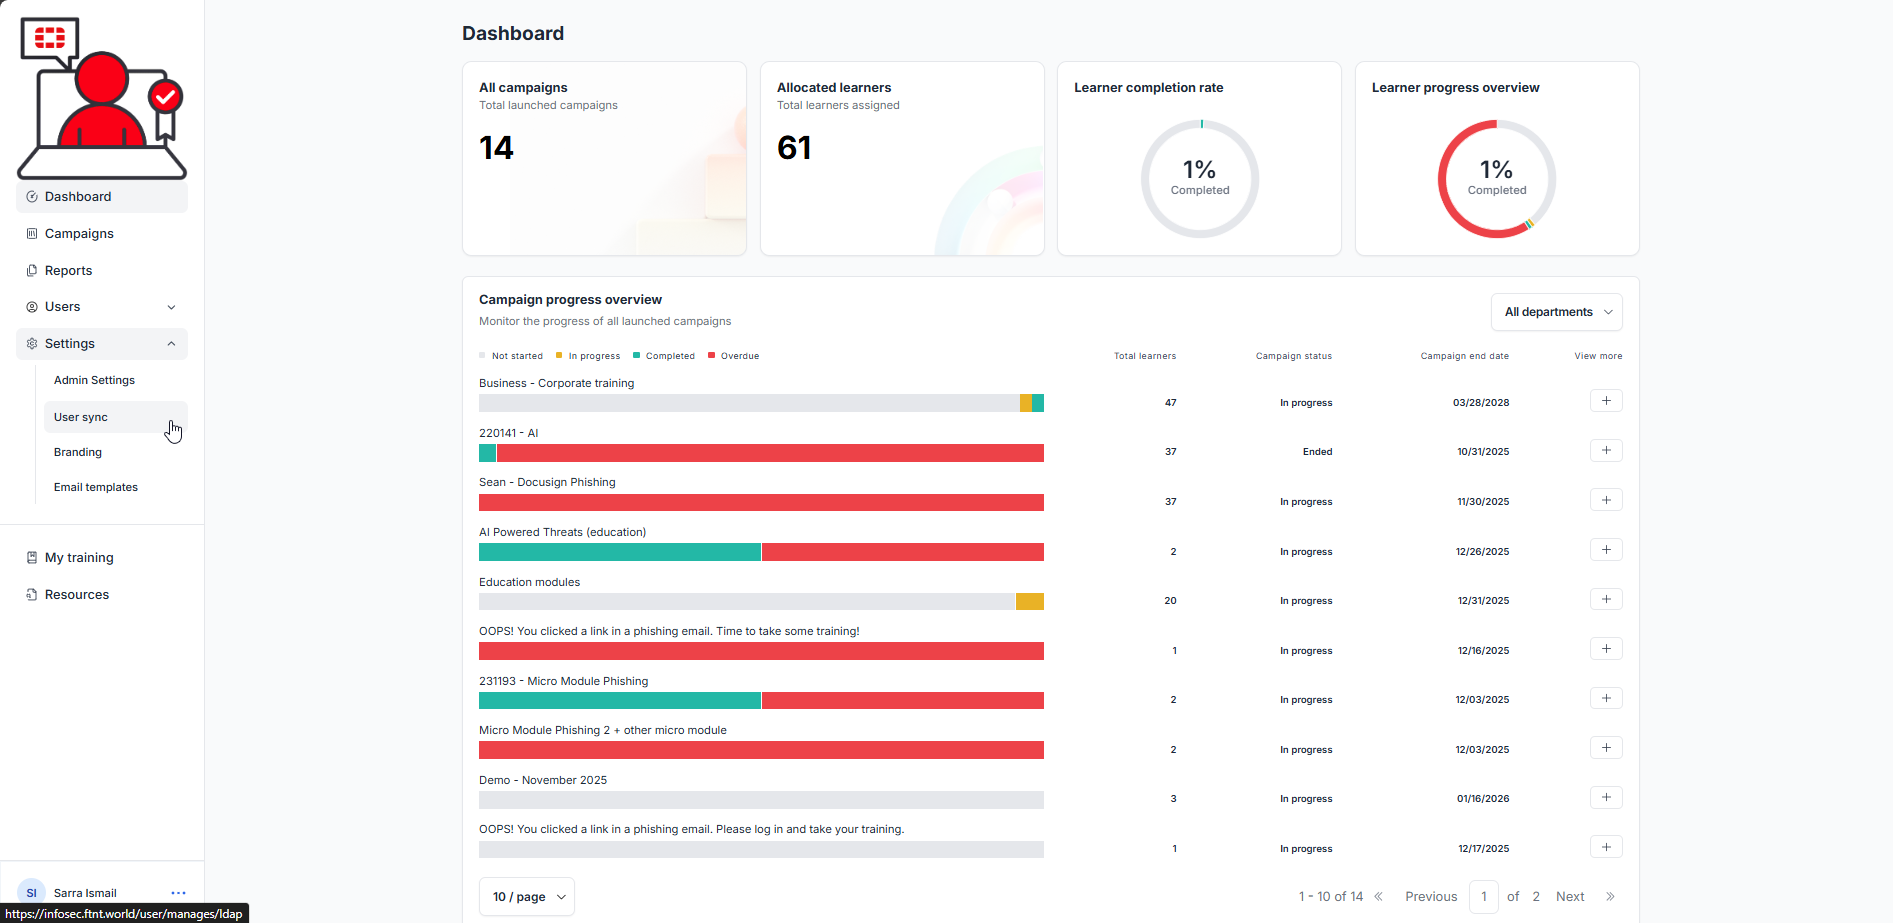
1.) Select Settings from the navigation menu, then, select the User sync sub-menu item:

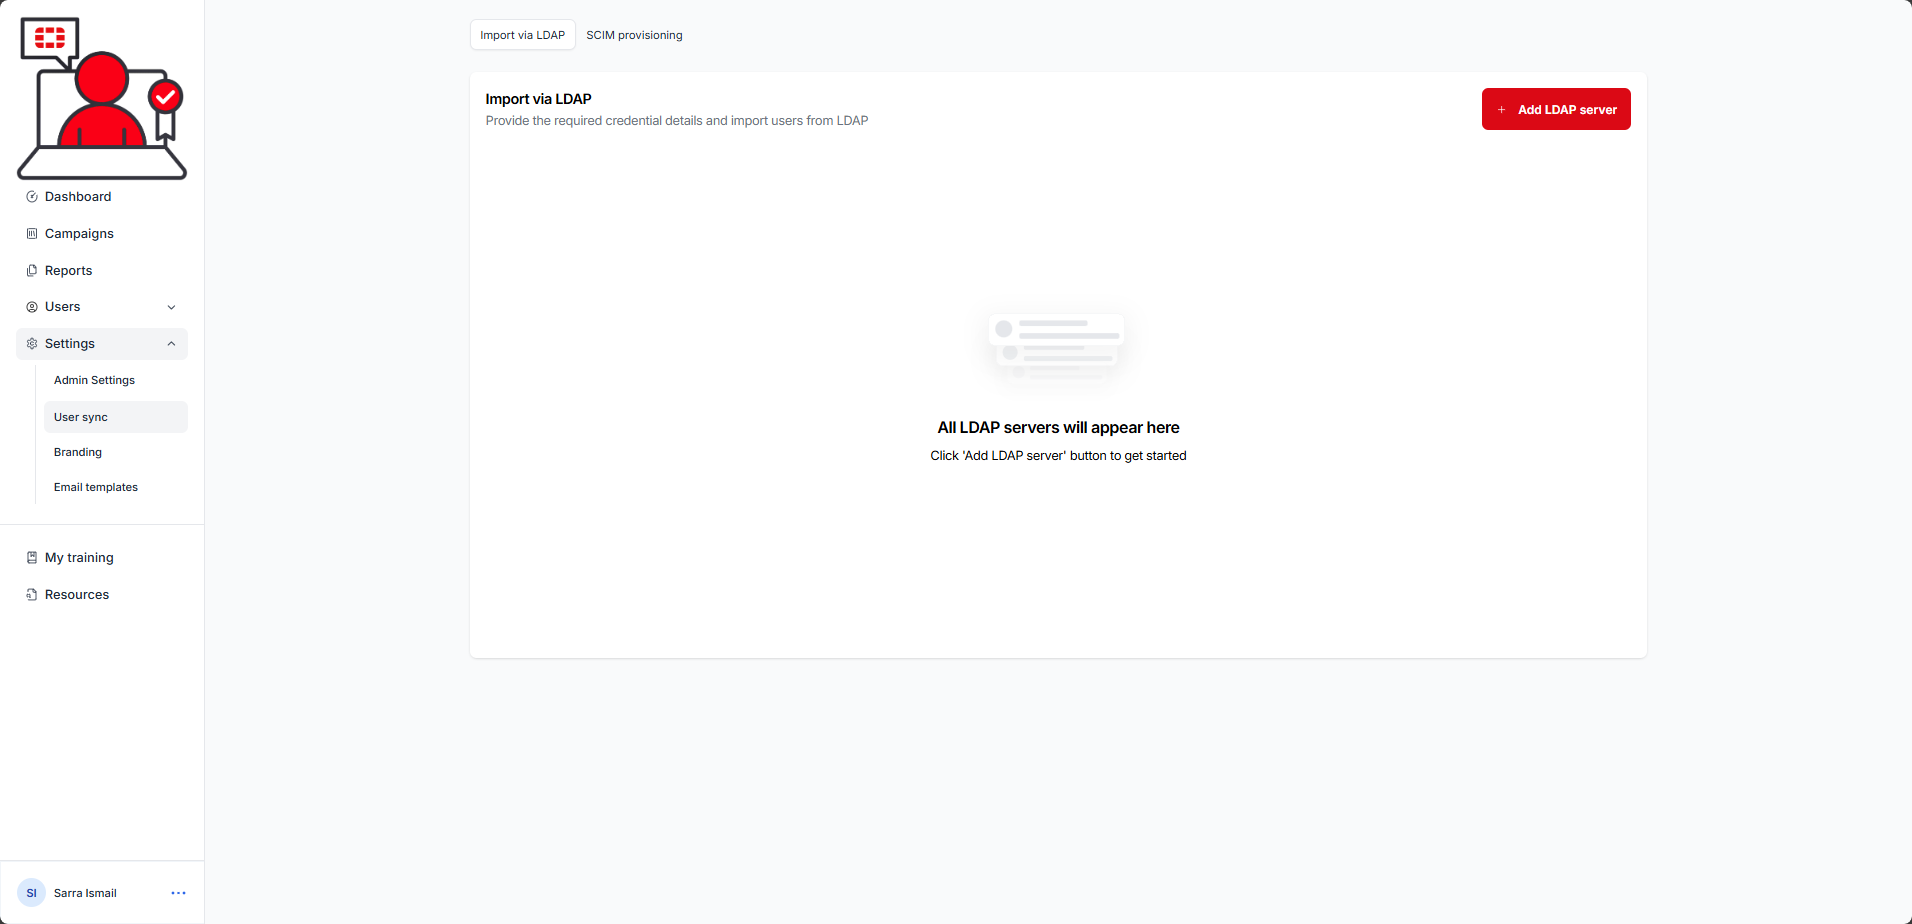
The User sync page is displayed and the Import via LDAP tab is displayed:

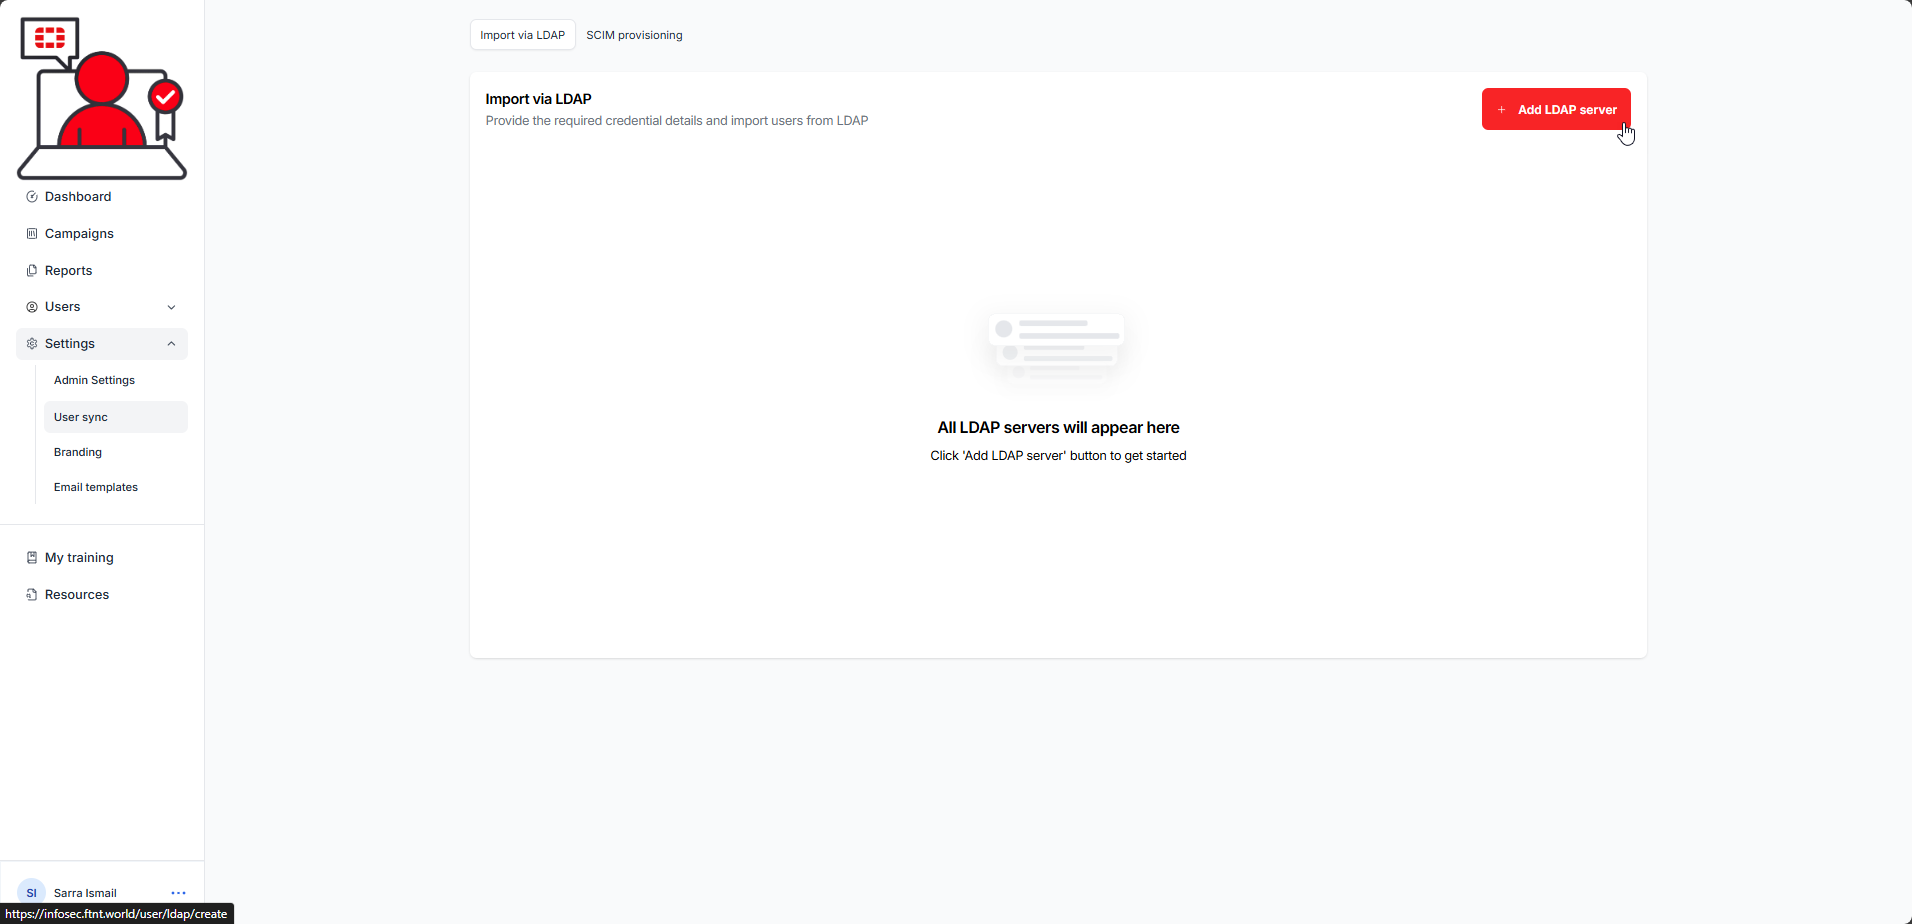
2.) Select the + Add LDAP server button in the top right hand corner:

The Import via LDAP / Create screen is displayed:

3.) Complete the Configuration section of the page to access your Active Directory:
Field | Description | Notes |
Name | Give your connection a meaningful name. | For example, you can have multiple configurations each pointing to different OU levels within your Directory. The name should reflect the type of connection and location of the data that will be imported in this configuration. |
LDAP Server URL | Provide the IP address or FQDN of the LDAP server you are configuring for user import. | This must be the externally accessible IP or FQDN for the server. Do not enter a url. |
Port Number | Enter the port number that your Directory listens on. | Default registered ports are: 389 (ldap) and 636 (ldaps). Ensure that you set the correct port corresponding to the Connect Mode (below): LDAP or LDAPS which dictates the protocol used to bind to the Directory. |
Base DN | Enter the top-level OU that you would like to import users from. | You can specify all users from the top of the Directory or a single OU within the Directory Information Tree (DIT) structure. If you wish to specify multiple OUs from different locations in the Directory, you can create multiple configurations or use the Search Filter field to specify more specific data locations. |
Search Filter | Enter the search filter you wish to identify users from within the DIT structure. The default (all users) should be set to: (objectClass=*) | The default (all users with any objectClass) is: (objectClass=*). A deployment specialist can help with a well-formed LDAP filter. Currently the length limit for the LDAP search filter is 1024 characters. If your value is larger than 1024, will get an error message similar to: “Data too long for column ‘search_filter`” in debuginfo server response was shown. This column is in the database table mdl_local_users_ldap_servers.” |
User DN | Enter the Directory username that will be used to allow the service to bind to your Directory. | This should be the full DN of the user. |
Password | Enter the corresponding password for the User DN Directory username that will be used to allow the service to bind to your Directory. |
|
Connect Mode | Select the protocol you will use that corresponds to the Port Number above (i.e. LDAP or LDAPS). | The service currently does not support Azure Active directory (Entra). |
| Before configuring this section, contact your Directory administrator to obtain the Directory attributes being used to store the following information. Default Directory attributes for Active Directory have been provided. All data points mentioned below should be present and populated either in the default attribute, or a different attribute. Attribute names are case sensitive. |
4.) Complete the Attribute Mapping section
Service Field Name | Directory Attribute | Notes |
First Name | givenName | Enter the Directory attribute where the user’s first name information is stored. By default, in Active Directory, this is the givenName attribute. |
Last Name | sn | Enter the Directory attribute where the user’s first name information is stored. By default, in Active Directory, this is the sn (surname) attribute. |
Enter the Directory attribute where the user’s email is stored. By default, in Active Directory, this is the mail attribute. | ||
Title | title | Enter the Directory attribute where the user’s first name information is stored. By default, in Active Directory, this is the title attribute. |
Department | department | Enter the Directory attribute where the user’s department information is stored. By default, in Active Directory, this is the department attribute. |
Manager | manager | Enter the Directory attribute where the user’s first name information is stored. By default, in Active Directory, this is the manager attribute. If this attribute is not populated, the advanced ‘copy manager’ on email communications will not function. |
| In the above table, the Title and Department fields can be mapped to other attributes. The unique values harvested by these two attributes will dictate how you assign training campaigns to users and report on campaigns. I.e. If you map the title field to city, then you will be able to assign and report on training by city names. If the department field is mapped to company, then you will be able to assign training campaigns and report by the unique company values that are harvested. |
5.) Select your preferred weekly synchronization schedule.
6.) Click the Save Configuration button at the bottom of the screen.

You should get a confirmation message that your LDAP server configuration is saved:

Was this article helpful?
That’s Great!
Thank you for your feedback
Sorry! We couldn't be helpful
Thank you for your feedback
Feedback sent
We appreciate your effort and will try to fix the article