| Before following these steps, ensure you have configured and verified your custom domain: Domain setup (Premium level service) For this operation, you must be logged in to the Google Admin Console as well as the FortiSATS admin console (as tenant administrator). |
Follow the steps below to configure single sign-on with Google Workspace Admin Console.
1.) Log in to the Google Admin Console
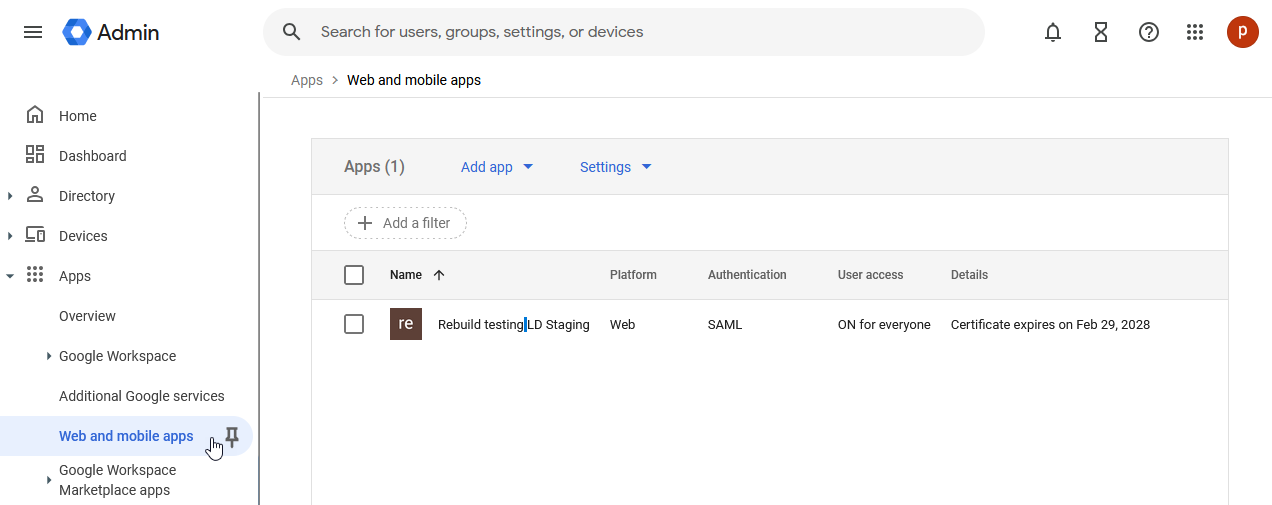
2.) From the navigation menu, select Apps, then select the Web and mobile apps submenu item:
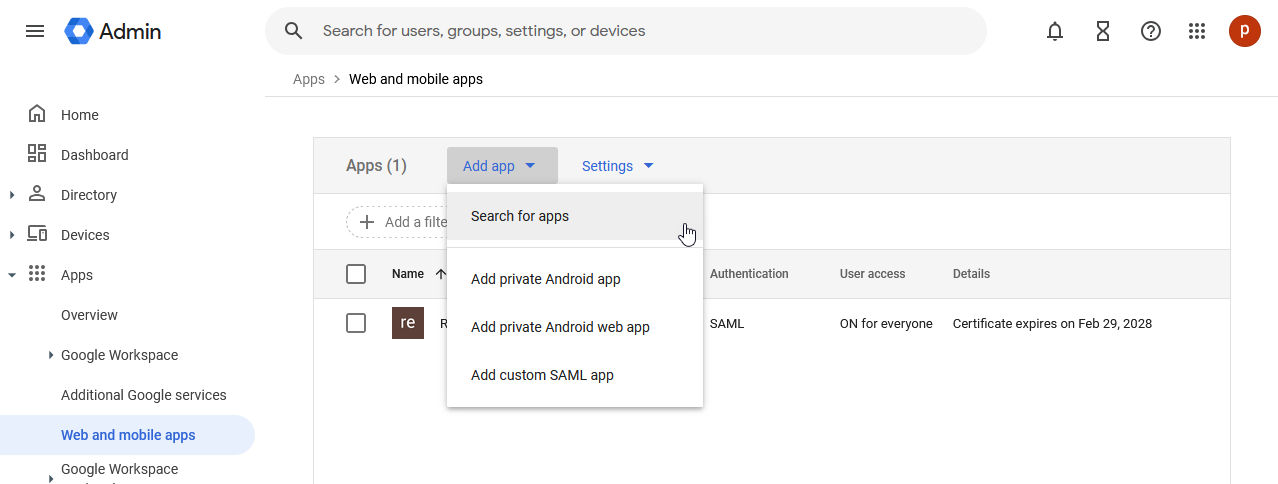
3.) From the Web and mobile apps page, select the Add app drop down, then select Search for apps:
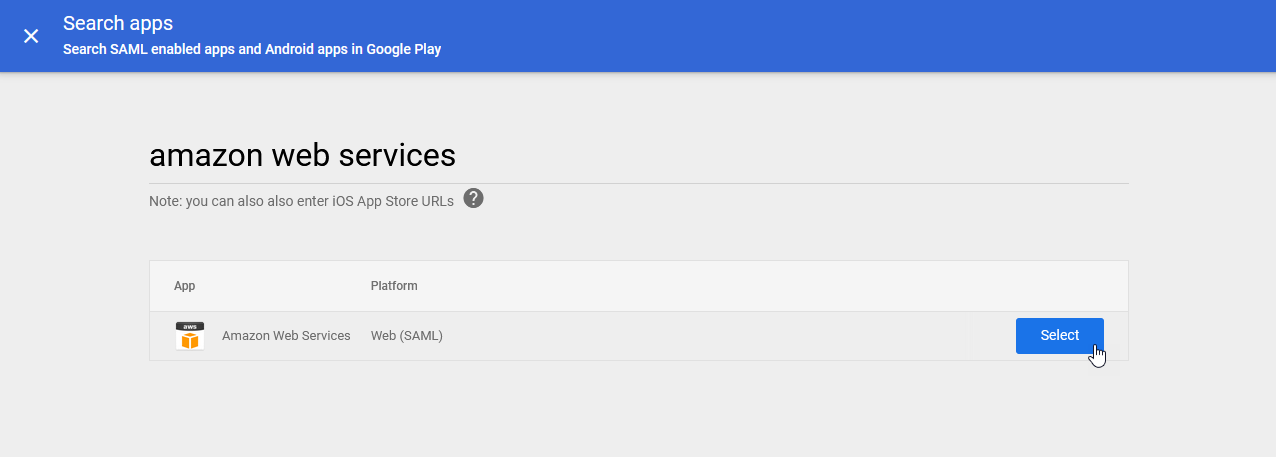
4.) In the Search apps dialogue, enter: "amazon web services". Once the app is found, click on the Select button:
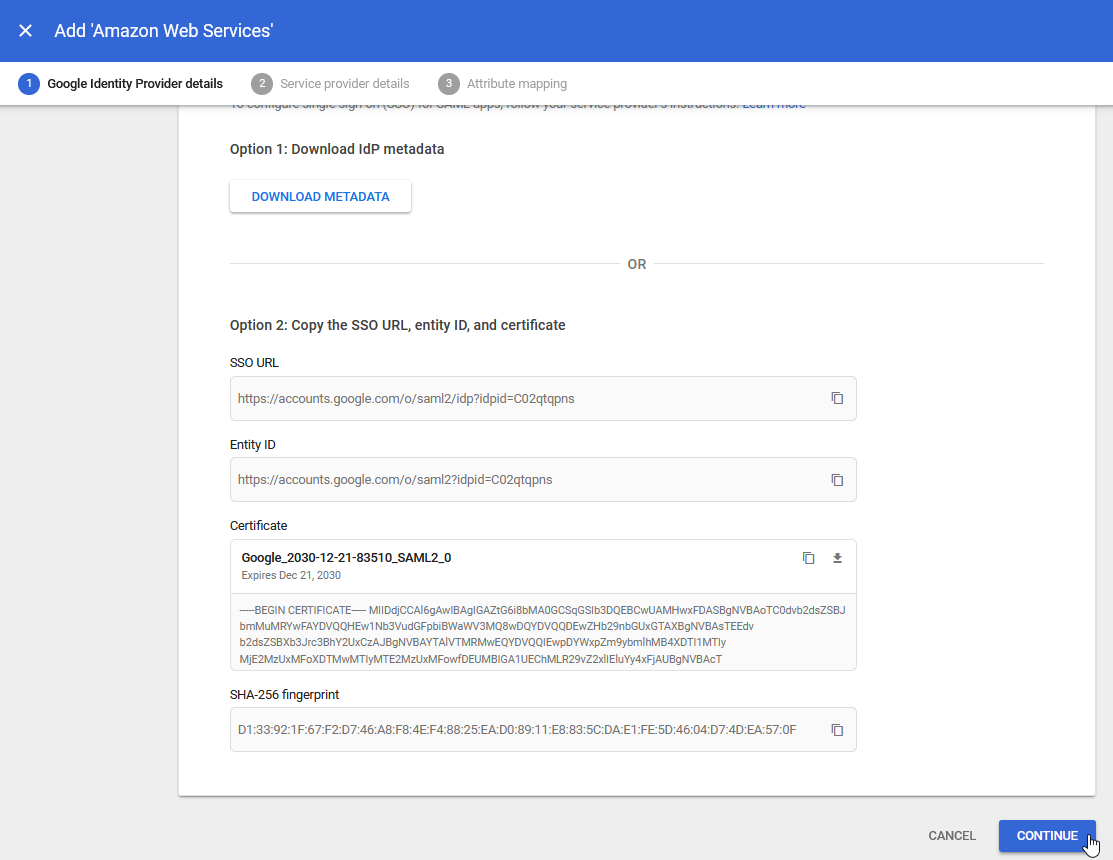
5.) On the Google Identity provider details screen, select the CONTINUE button at the bottom of the screen:
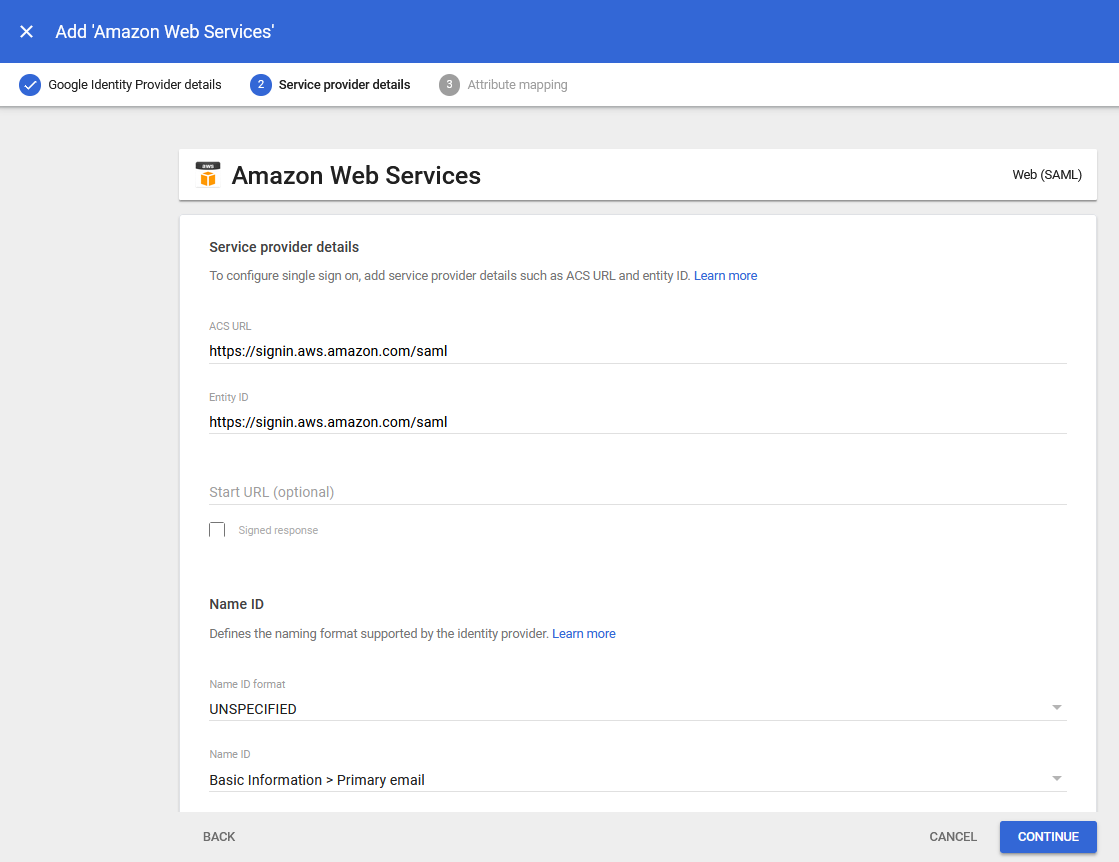
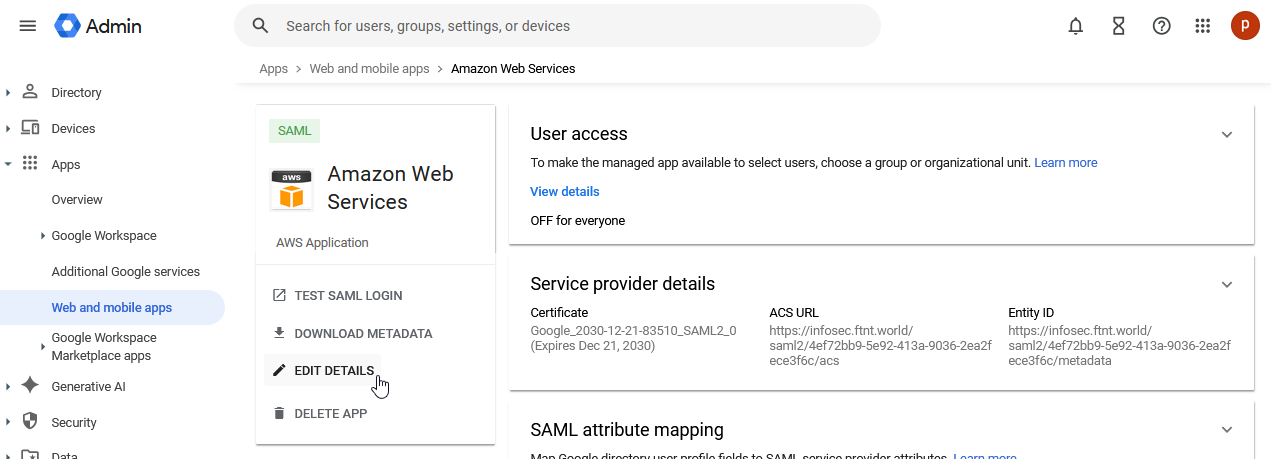
6.) The Service provider details page is displayed:
7.) Log in to the FortiSATS Admin console as the tenant administrator or a user with the Admin role assignment.
8.) Select the Settings dropdown from the navigation menu, then select the Admin Settings sub-menu item. Now select the Configure button in the Single Sign-On (SSO) section:

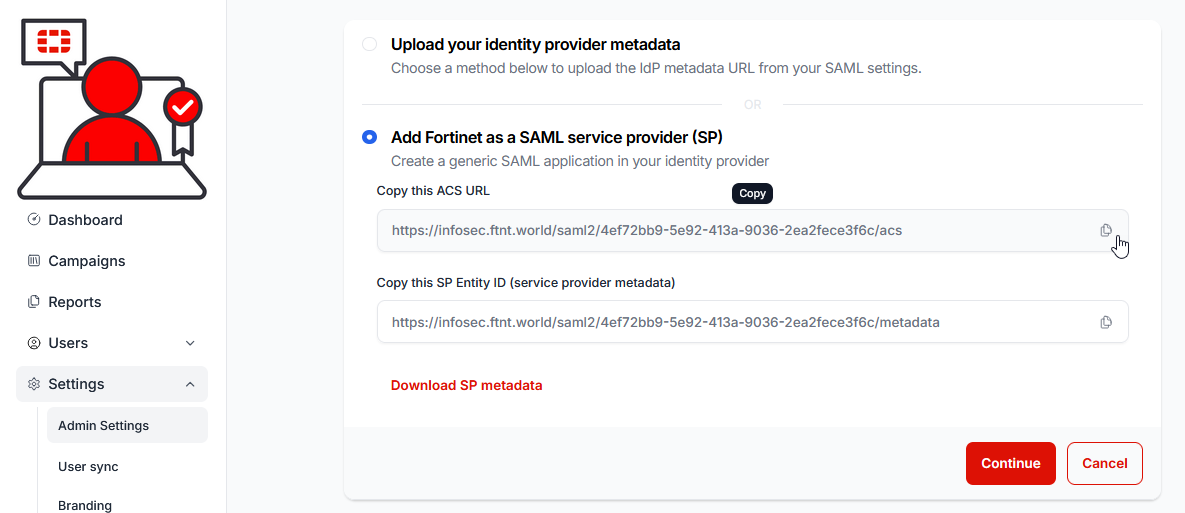
9.) Select the Add Fortinet as a SAML service provider (SP) option button:

10.) Select the copy icon in the Copy this ACS URL field:
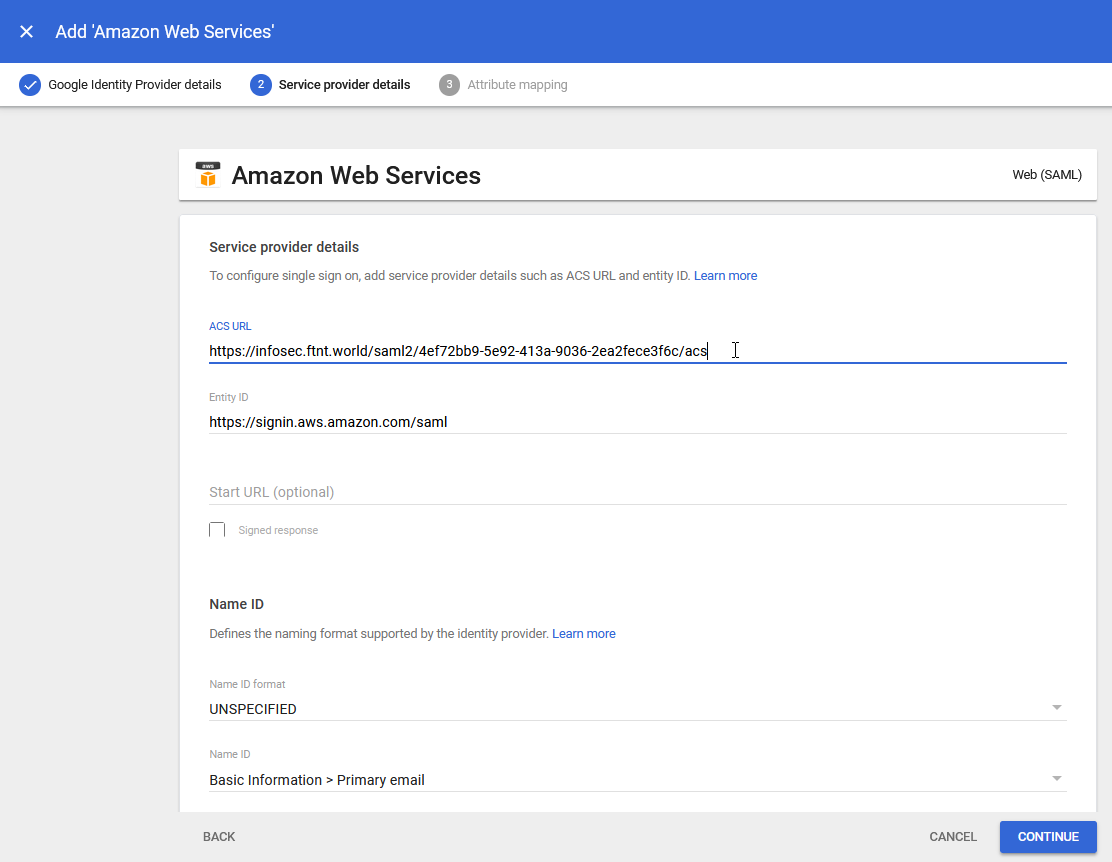
11.) Return to the Google Admin Workspace Admin console and paste the value into the ACS URL field:
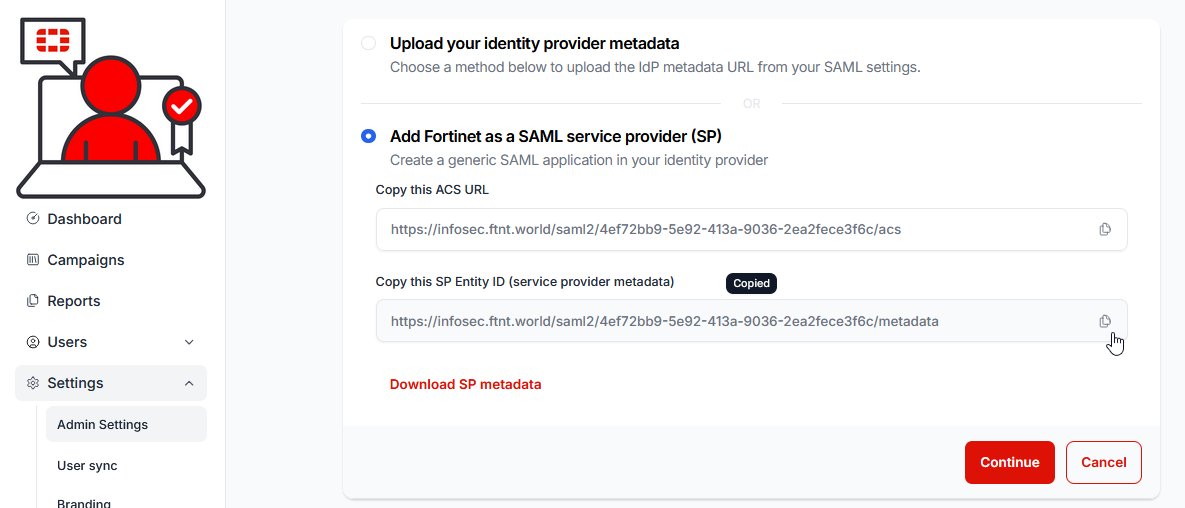
7.) Return to the FortiSATS console and this time, and select the copy button in the Copy this SP Entity ID field:
8.) Return to the Google Workspace Admin consol and paste the value in the Service provider details - Entity ID field:
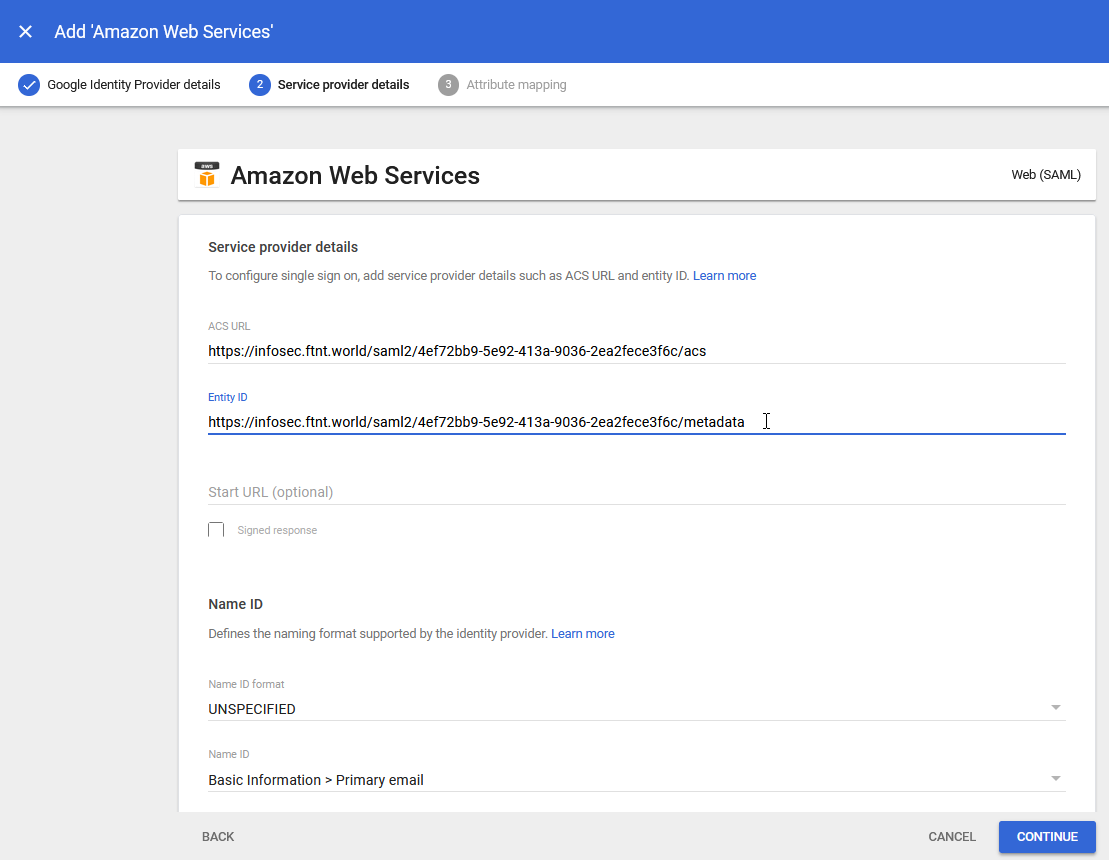
The Start URL is not required.
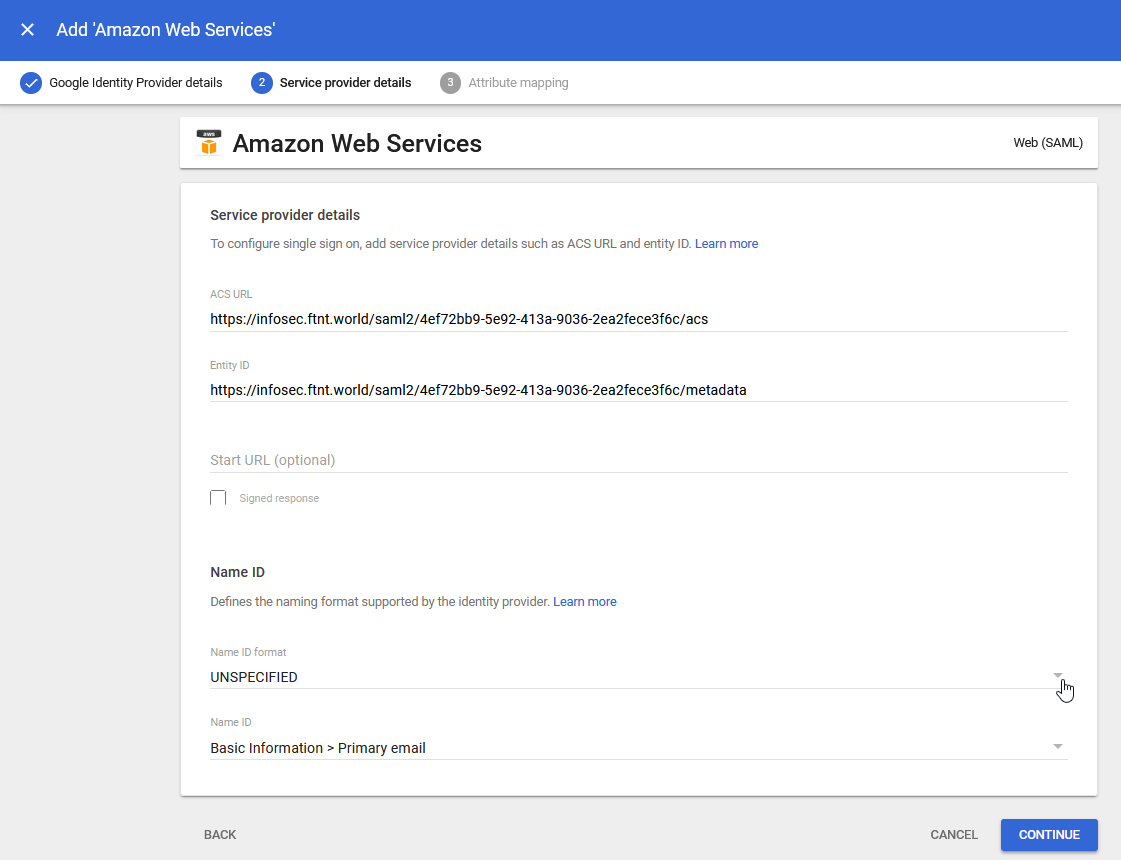
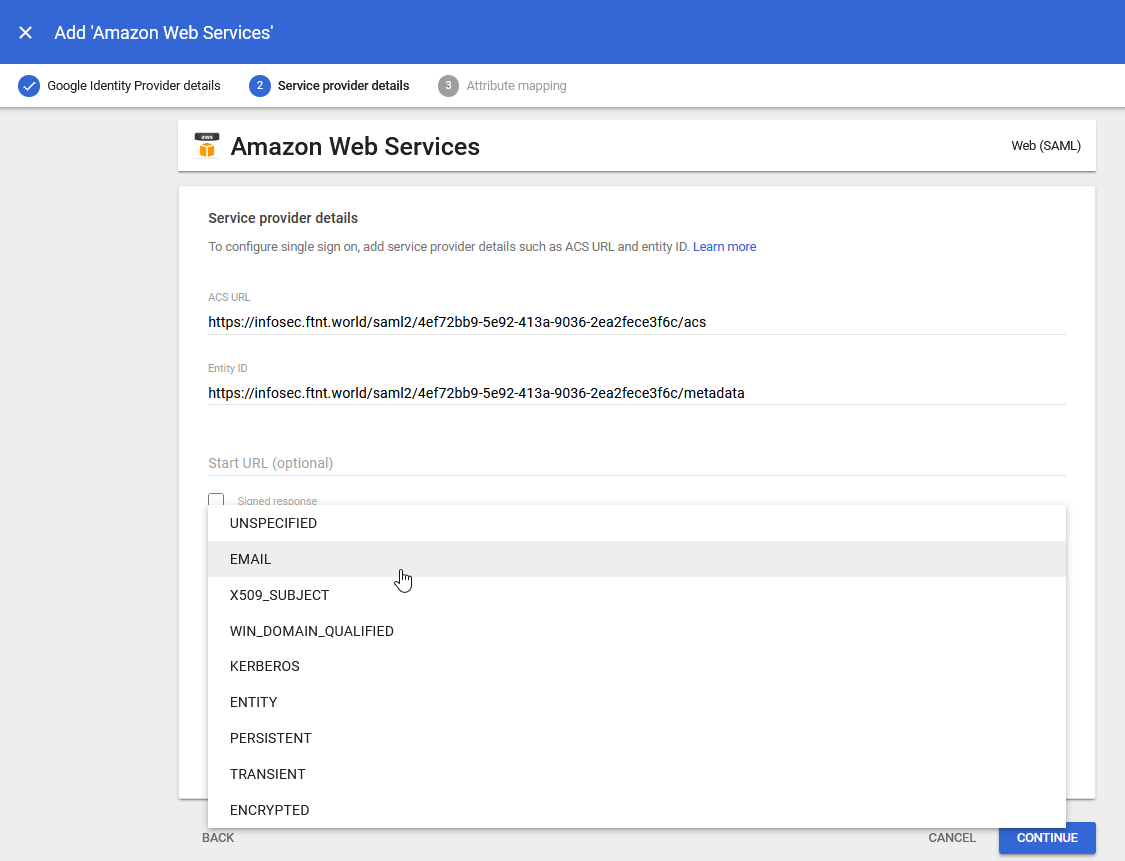
9.) Select the Name ID format dropdown (currently set to UNSPECIFIED) and select Email
10.) Ensure that the Name ID field is displaying Basic Information > Primary email and click the CONTINUE button: 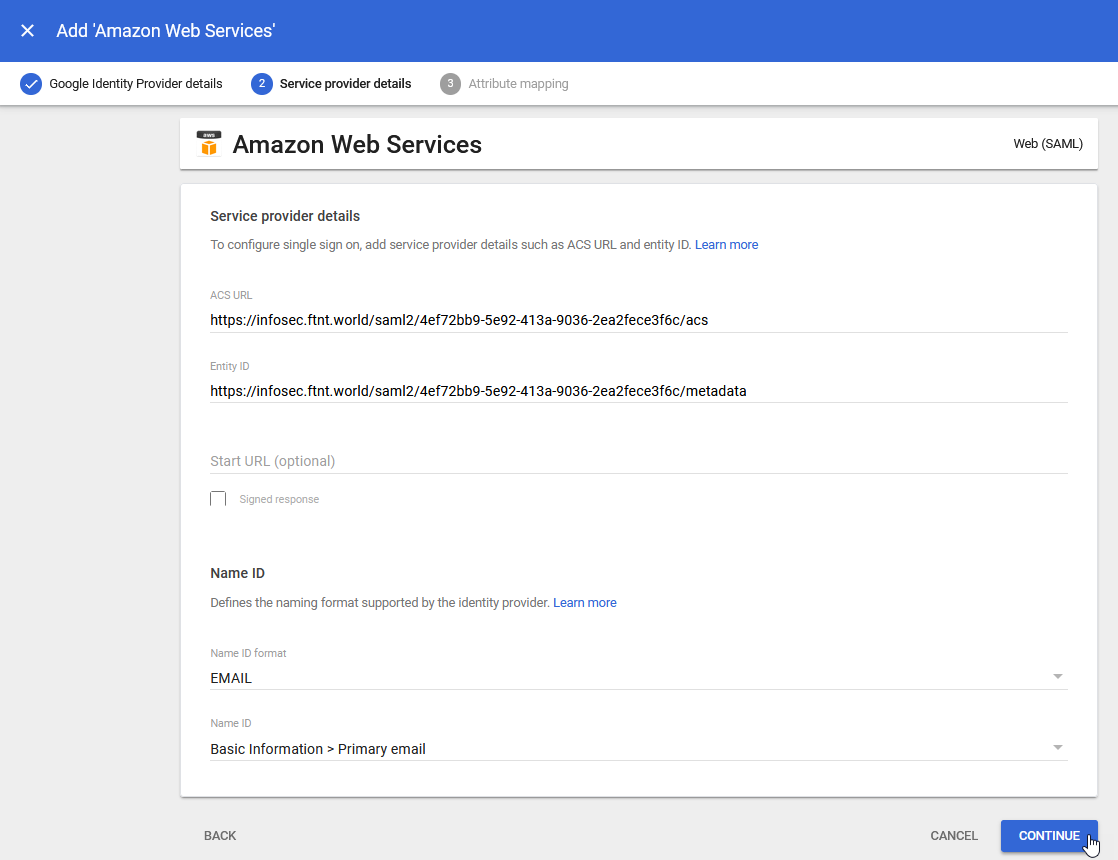
11.) Set both of the Google Directory attributes to primary email (by selecting the drop down) for both of the existing entries (per the following screenshot):
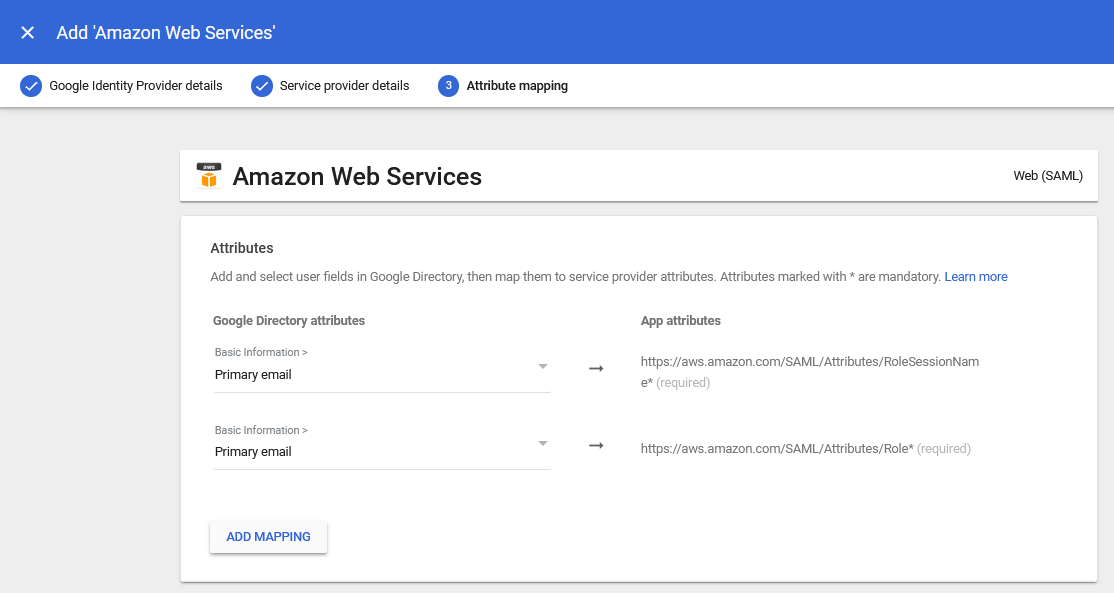
Our app will not use these entries, however, they must be set to something.
12.) Return to the Fortinet Security Awareness and Training Service console and select the Continue button:

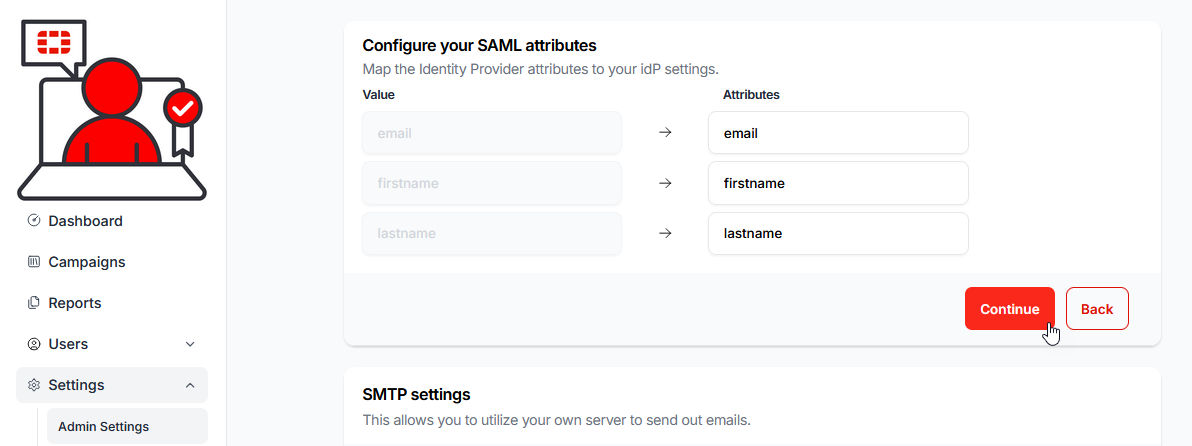
13.) Enter the values you wish to use for the Attributes, in the Attributes fields of the Configure your SAML attributes section (you may use the exact same values as the example, i.e.: email, firstname and lastname).
These values are case sensitive, so, whatever values you enter here, you will need to exactly match in the Google app settings.
Click Continue:
14.) Return to the Google Workspace Admin app.
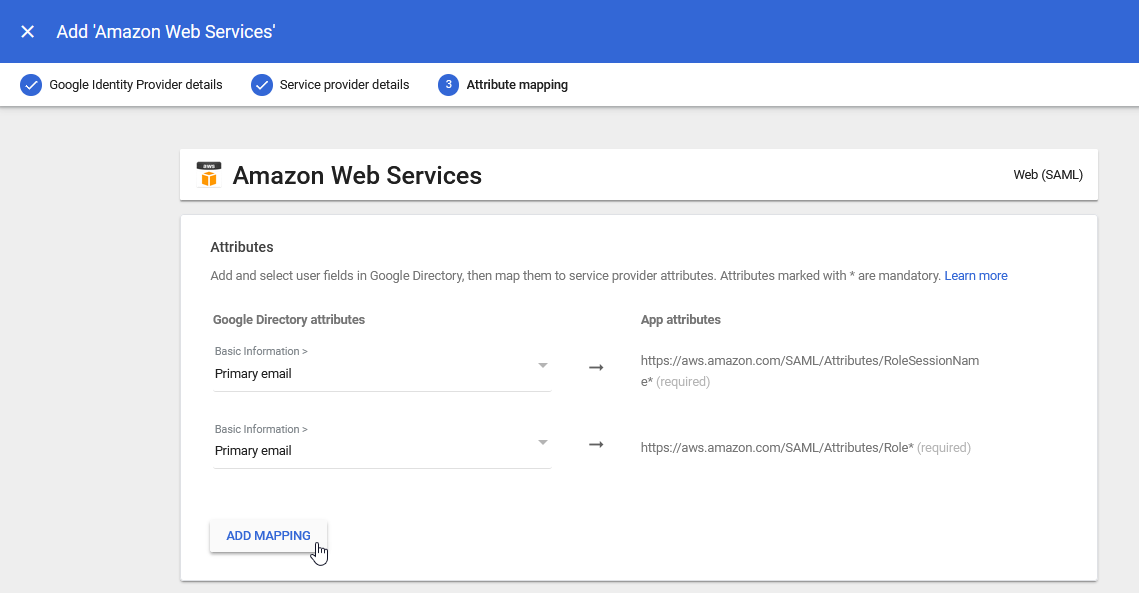
15.) Select the ADD MAPPING button:
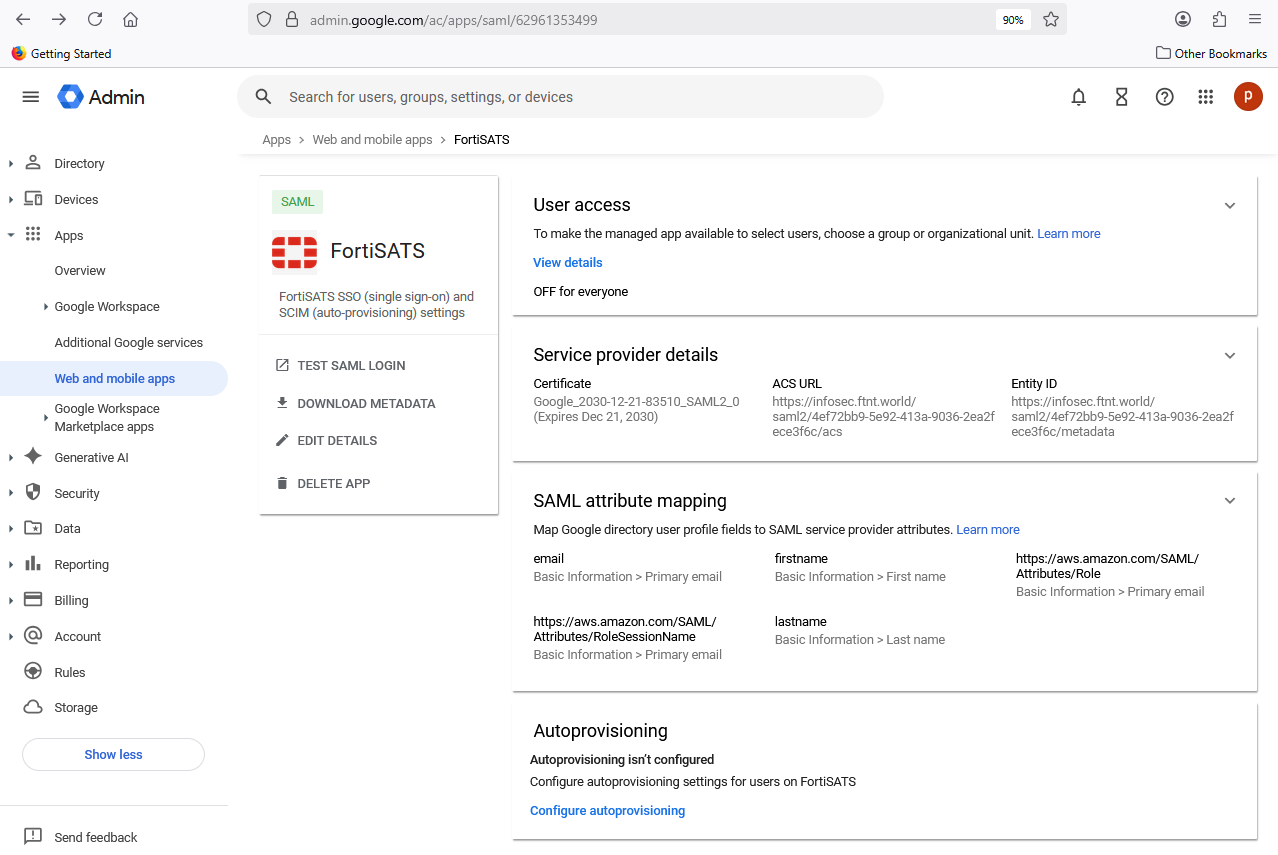
12.) Add attribute mappings as you entered them in the FortiSATS. These must match and be mapped to the Google Directory Attributes for Primary Email, First Name and Last Name:
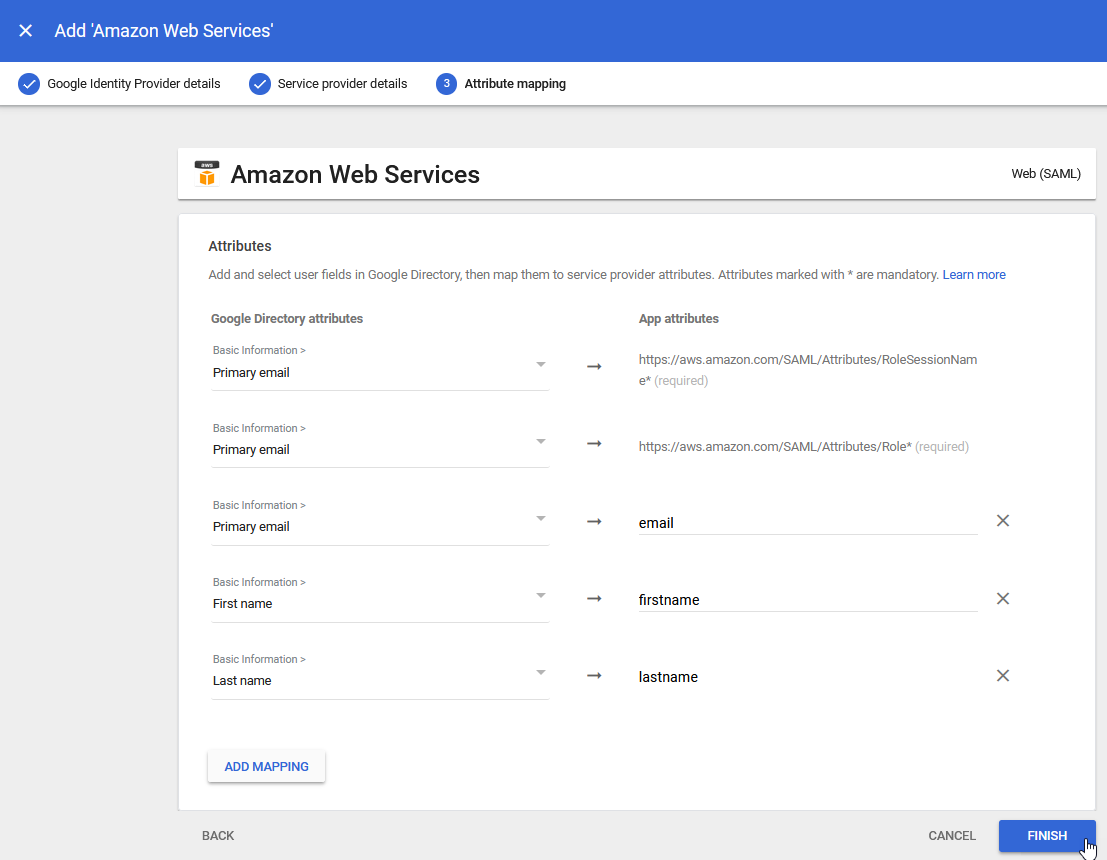
13.) Click Finish
14.) From the center pane on the mobile app page, select the EDIT DETAILS link:
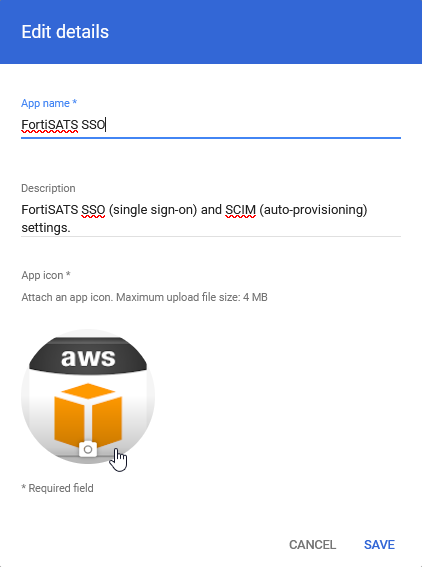
15.) Set the following for the app:
App name: FortiSATS
Description: FortiSATS SSO (single sign-on) and SCIM (auto-provisioning) settings.
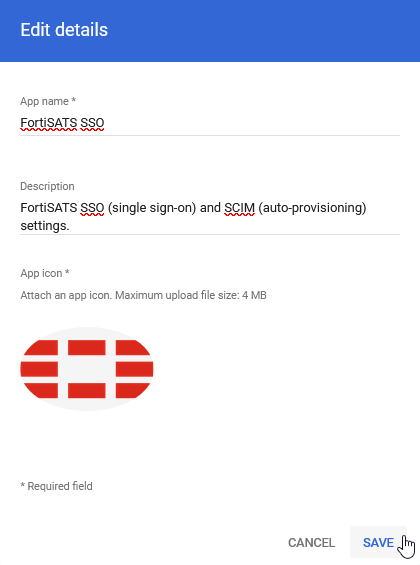
App icon: You can also download the attached Fortinet icon from this KB. Then, click on the app icon and configuration screen and set the new app icon:
16.) Click the button:
The app page reloads and shows the updated name, description and icon:
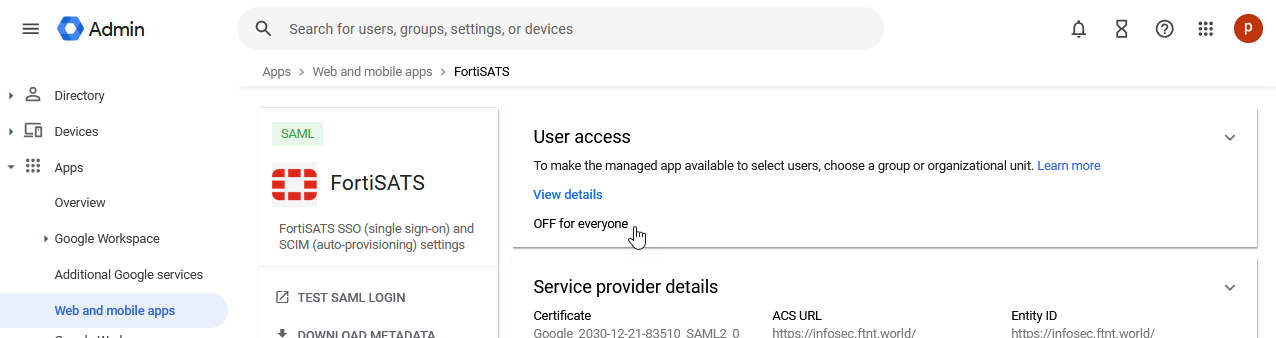
17.) In the right-hand pane, in the User access section, select the Off for everyone:
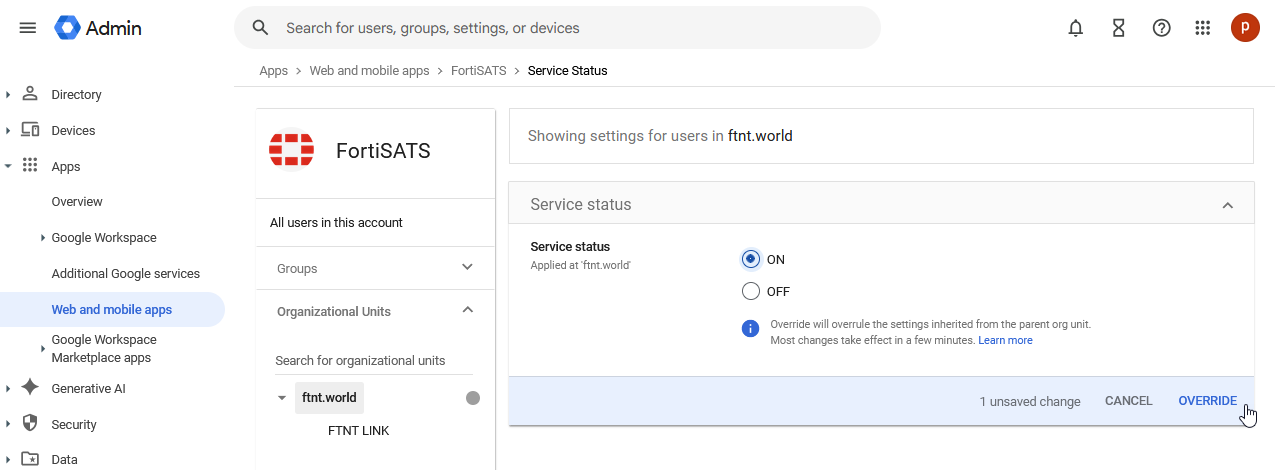
18.) You will now need to provision the application by selecting the users, OUs or groups that should have access to the app. You may need to create a group and all users to it if you do not already have a group configured that creates the necessary user community. Ensure you only select OUs that contain users that require access to the training system. You must ensure you do not go over your user seat limit. Sometimes this means moving users into different OUs or creating additional groups and assigning the users to them.
19.) On the home page for the new custom app, click on Download Metadata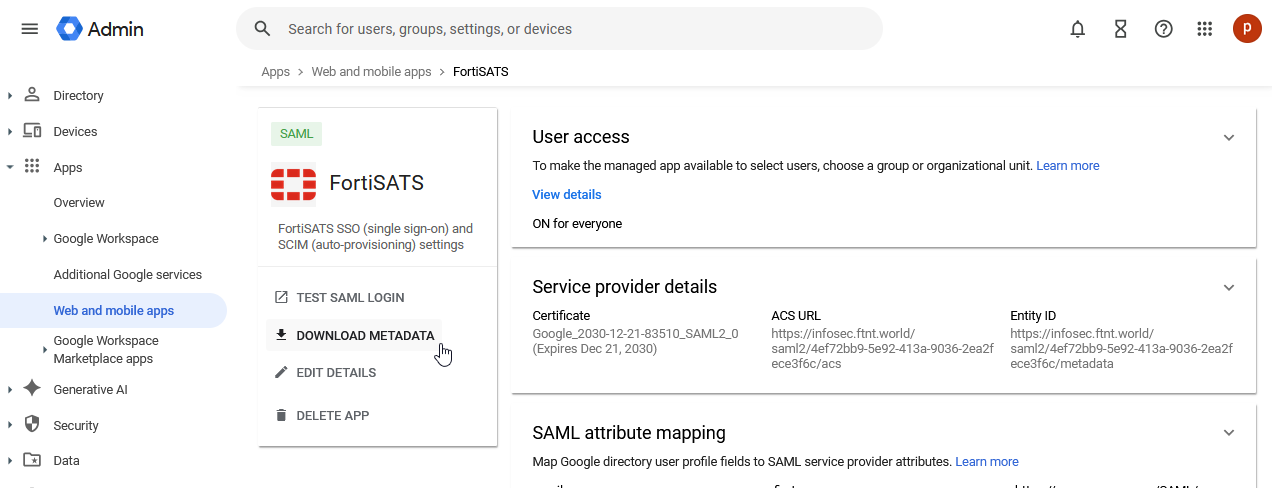
20.) Click on: Option 1: Download Metadata:
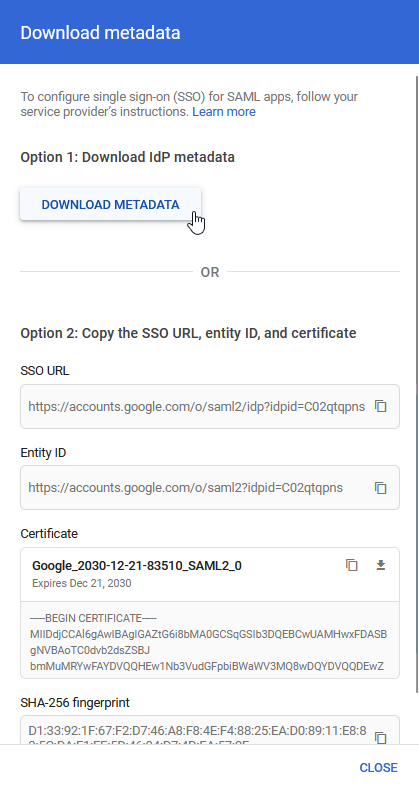
This will now download an XML metadata file
21.) Return to the Fortinet Security Awareness and Training Service console and select the Upload your Identity Provider Metadata option button:
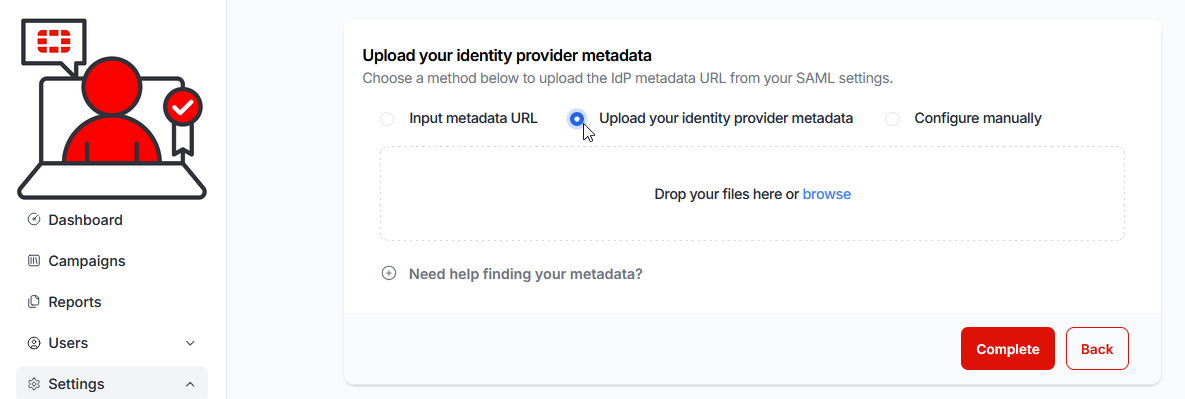
22.) Browse to or Drag and drop the downloaded ‘GoogleIDPMetadata.xml’ file
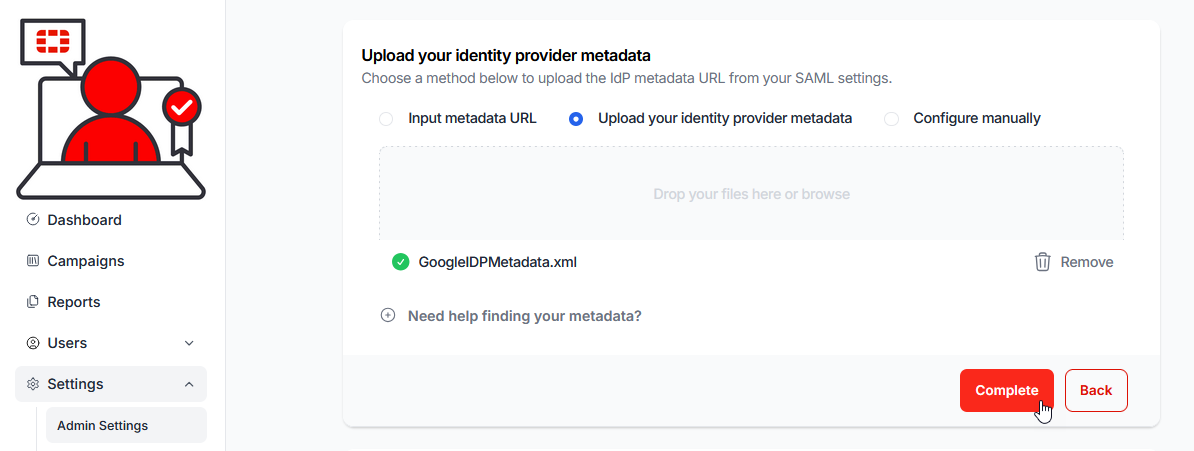
23.) Click on the Complete button. The Single Sign-On (SSO) configuration will confirm Enabled:
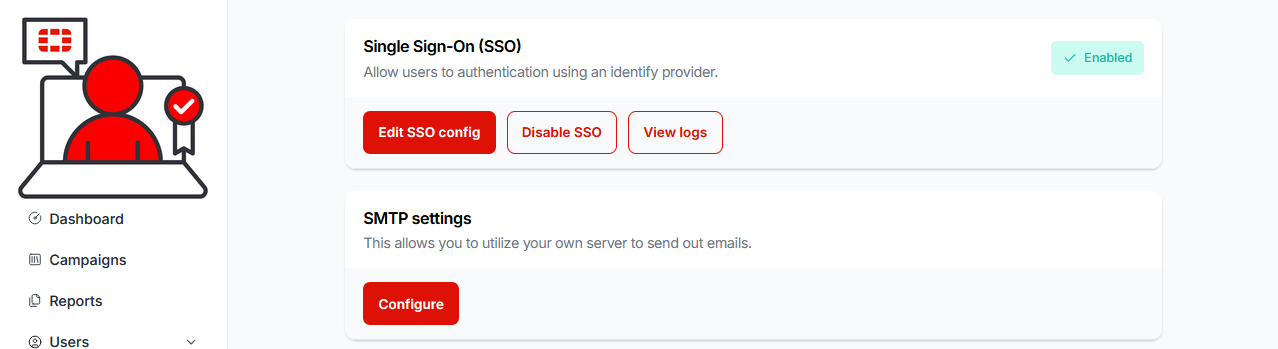
22.) You can now manually create a single user from the Users navigation menu item. Then use your configured domain, to test the log in via your configured SAML2 application:
If you wish to configure Google Workspace Auto-provisioning (using SCIM protocol), click here.

Was this article helpful?
That’s Great!
Thank you for your feedback
Sorry! We couldn't be helpful
Thank you for your feedback
Feedback sent
We appreciate your effort and will try to fix the article